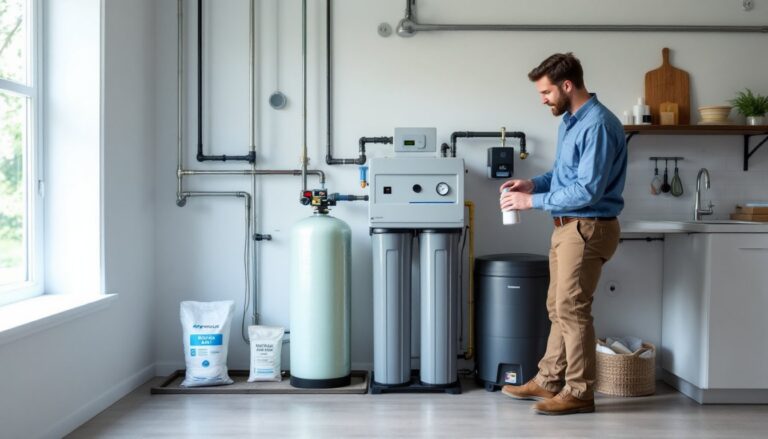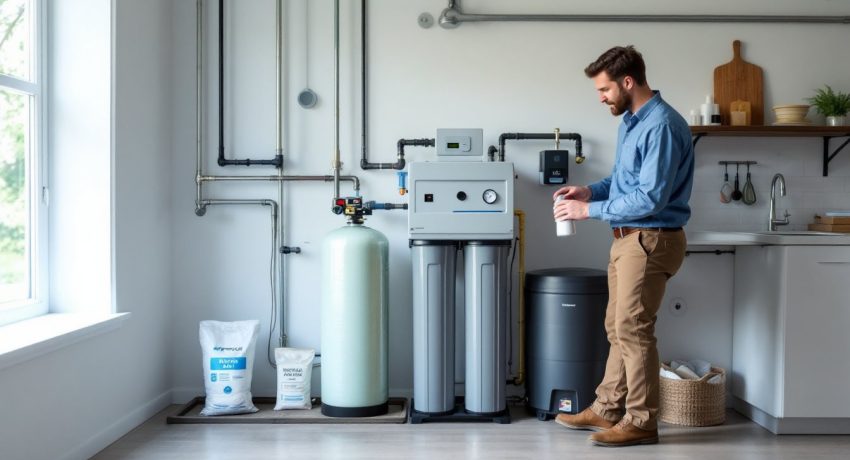

A water softener sitting in your basement quietly does one essential job: removing the calcium and magnesium that turn your shower door cloudy, clog your appliances, and make your laundry feel stiff. But like any system, it only stays effective with regular attention. Water softener system maintenance doesn’t require a technician’s certification or expensive service calls, most tasks are manageable for homeowners willing to spend an hour or two every few months. Neglect the upkeep, though, and you’ll end up with hard water trickling from your taps, salt bridges clogging the tank, or fouled resin that stops regenerating altogether. This guide walks you through the straightforward maintenance steps that keep your softener working smoothly and extend its lifespan.
Table of Contents
ToggleKey Takeaways
- Regular water softener system maintenance prevents salt bridges, resin fouling, and sludge buildup while extending your softener’s lifespan by years.
- Check and refill your salt tank monthly, keeping salt levels between ¼ and ½ tank height to ensure consistent softening efficiency.
- Clean your brine tank yearly with warm water and a brush to remove sludge and sediment that clogs pathways and reduces system performance.
- Test your water hardness annually with inexpensive test strips to confirm your softener is removing hardness minerals effectively.
- Address salt bridges, poor regeneration, and leaks promptly by probing crusty salt formations, inspecting brine lines, and tightening loose fittings to avoid costly repairs.
Why Regular Water Softener Maintenance Matters
Your water softener works on an ion-exchange cycle: resin beads trap hardness minerals, salt brine washes them away during regeneration, and fresh resin stands ready to go again. This cycle repeats dozens of times per year. Without maintenance, salt deposits build up, resin gets fouled by iron or sediment, and the brine tank develops sludge that clogs the system’s pathways.
Regular water softener upkeep delivers measurable benefits. You’ll maintain consistent softening efficiency, meaning calcium and magnesium removal stays reliable even as your incoming water hardness shifts with seasons or municipal supply changes. You’ll prevent salt bridges (crusty formations that trap salt and stop regeneration) and brine tank sludge from forming. Most importantly, a well-maintained softener extends the lifespan of the resin, valves, and control head by years, potentially saving you hundreds in premature replacement costs. Your plumbing and appliances benefit too: less scale buildup on pipes, water heater elements that stay cleaner, and dishwashers and washers that work longer.
How to Check and Refill Your Salt Tank
Checking your salt level is the easiest and most important monthly task. Start by removing the brine tank lid and looking inside. Salt should occupy roughly ¼ to ½ of the tank’s height, and it should sit above any standing water. If water is sitting on top of salt, or if the salt line has dropped below ¼ full, it’s time to refill.
Use high-quality pellet or cube salt, avoid rock salt for water softeners, as it contains impurities and sediment that create sludge buildup. Pellets dissolve more cleanly. Add salt until the tank reaches about ½ full, but don’t overfill past the tank’s rim. Some softeners have a “fill line” marked on the interior or exterior: check your manual.
After adding salt, give it a gentle stir with a broom handle to break up any surface crusting. Wait 30 minutes to an hour before the next scheduled regeneration cycle: this gives the salt time to start dissolving and become available as brine.
Signs Your Salt Tank Needs Refilling
Watch for these signals that salt is running low:
- Hard water returning at your taps: Soap won’t lather, dishes spot easily, and laundry feels stiff, classic signs the softener isn’t regenerating properly.
- Salt level visibly below ¼ tank or water sitting on top of salt.
- Softener runs its regeneration cycle but hardness stays high: The system is trying to work, but there’s not enough salt to create proper brine.
- Salt mushing or bridging: You see a hard crust across the top, or a hollowed-out cavity beneath the surface.
Cleaning Your Resin Bed and Brine Tank
Your brine tank, where salt and water mix to create regenerant brine, accumulates sludge and sediment over time. A yearly or every-two-year deep clean prevents clogs and extends system life. Here’s how:
- Turn the softener to bypass mode (if your control valve has one) to stop water flow through the system. Unplug the unit if it’s electrically driven.
- Drain the brine tank completely. Remove the lid, scoop out as much salt and water as practical, and carefully dispose of the sludge (a wet/dry shop vacuum works well).
- Scrub the interior with warm water and a stiff-bristled brush or sponge. Use diluted dish soap if needed. Get into corners where sludge settles.
- Rinse thoroughly with clean water until no soap or grit remains. Some owners disinfect with a dilute bleach solution, about ¼ cup household bleach in 1 to 3 gallons of water, letting it sit for 10–15 minutes before rinsing again.
- Reconnect everything and refill with 4 to 5 gallons of fresh water and salt pellets to about ½ full. Let the mixture stand for 1–2 hours so salt can begin dissolving, then manually run a regeneration cycle.
For the resin bed itself, the media inside the main tank that does the actual softening, use a water softener resin cleaner if you notice iron staining, sediment fouling, or a rotten-egg smell. Follow the product instructions: typically you pour the recommended amount into the brine well, then trigger a manual regeneration. Resin cleaning is needed every few months if your water contains high iron or organic matter, or every year or two for normal water.
A complete water softener cleaning guide walks through each component in detail if you want more specifics on disassembly or advanced scrubbing techniques.
Testing Water Hardness and System Performance
You can’t trust your eyes, hard water doesn’t always look different, and neither does soft water. Testing confirms your softener is actually working. Pick up an inexpensive water hardness test kit or test strips (under $10 at most hardware stores) and test a sample from a kitchen or bathroom faucet after the system has completed a regeneration cycle.
Record the hardness level in parts per million (ppm) or grains per gallon (GPG). Compare it to your initial incoming water hardness (ask your water utility or test raw water before the softener). If your softener was set to remove 40 GPG of hardness and you’re still seeing 10 GPG after treatment, the system isn’t performing up to spec, this signals fouled resin, a stuck regeneration valve, or control settings that need adjustment.
Test annually at minimum, or whenever you notice hard water symptoms returning. If your area’s water hardness changes seasonally, you may need to adjust your softener’s hardness setting on the control head or call for a technician’s help. Maintaining a water softener includes these performance checks as part of routine upkeep.
Common Water Softener Problems and Quick Fixes
Salt bridges and salt mush: A hard crust forms on top of the salt, trapping the rest and preventing brine formation. Probe the salt layer with a broom handle from above, if you hit solid resistance, you likely have a bridge. Break it up by jabbing and twisting the broom handle, then remove the loose material and any sludge beneath it. After cleanup, the softener should regenerate normally. To prevent bridges, keep salt at ¼ to ½ full and avoid overfilling: high humidity in your basement accelerates bridging.
Poor or no regeneration: If the softener’s timer cycles but no water flows, check these first: Is power reaching the unit? Are the timer settings correct? Is salt present and brine level adequate? Inspect the brine line (a small tube running from the brine tank into the control valve) for clogs or kinks. A clogged line stops water from drawing brine into the main tank. Flush the line with fresh water or replace it if cracked.
Leaks: Water seeping from the brine tank connection, drain line, or valve body means worn seals or cracked fittings. Tighten compression fittings with an adjustable wrench first, sometimes a leak stops with a quarter-turn. If tightening doesn’t work, shut off the softener, depressurize by opening a faucet downstream, and replace rubber washers or seals ($5–20 for a kit). Cracked fittings or valve bodies usually require professional replacement.
Fouled resin (iron staining, smell, poor performance): Iron-rich water or sediment can coat the resin beads and reduce their capacity. Use a resin cleaner product designed for water softeners: follow package directions for dosage and cycle timing. If fouling is chronic, consider installing a pre-filter upstream of the softener to catch sediment and iron before they reach the resin. Water softener maintenance resources often recommend pre-filtration for problem water supplies.
Conclusion
Water softener system upkeep boils down to a few repeatable habits: check and refill salt monthly, clean the brine tank yearly, use resin cleaner when water quality or performance warrants it, and test hardness annually. Catch salt bridges early, inspect for leaks, and verify that regeneration is actually happening. These steps take minimal time and cost far less than ignoring a failing system. Stick with them, and your softener will keep delivering clean, spot-free water for years to come.